Attaching Support Tickets
Support tickets are one of the key indicators of how an incident might impact customers. FireHydrant currently offers a Zendesk integration (with more planned) to help streamline incident communications with customers, specifically:
- Associating support tickets to an active incident from within FireHydrant
- Creating a new FireHydrant incident or associating a support ticket with an existing FireHydrant incident via the FireHydrant Zendesk Marketplace app
- Automating incident status updates back to linked Zendesk tickets as internal notes
Prerequisites
- You'll need to install the Zendesk integration
- You must be one of Collaborator, Member, or Owner roles to interact with an incident and modify its details
- If performing actions from Zendesk, you must have a Zendesk account and have access to support tickets
Creating an Incident with a Zendesk Ticket Attached
You can declare an incident in FireHydrant and include the link to your Zendesk ticket in either the Description or the Customer Impact Summary fields.
If FireHydrant detects Zendesk ticket link(s) in either of those fields (and your Zendesk integration is configured), it will also automatically associate the ticket(s) with the incident.
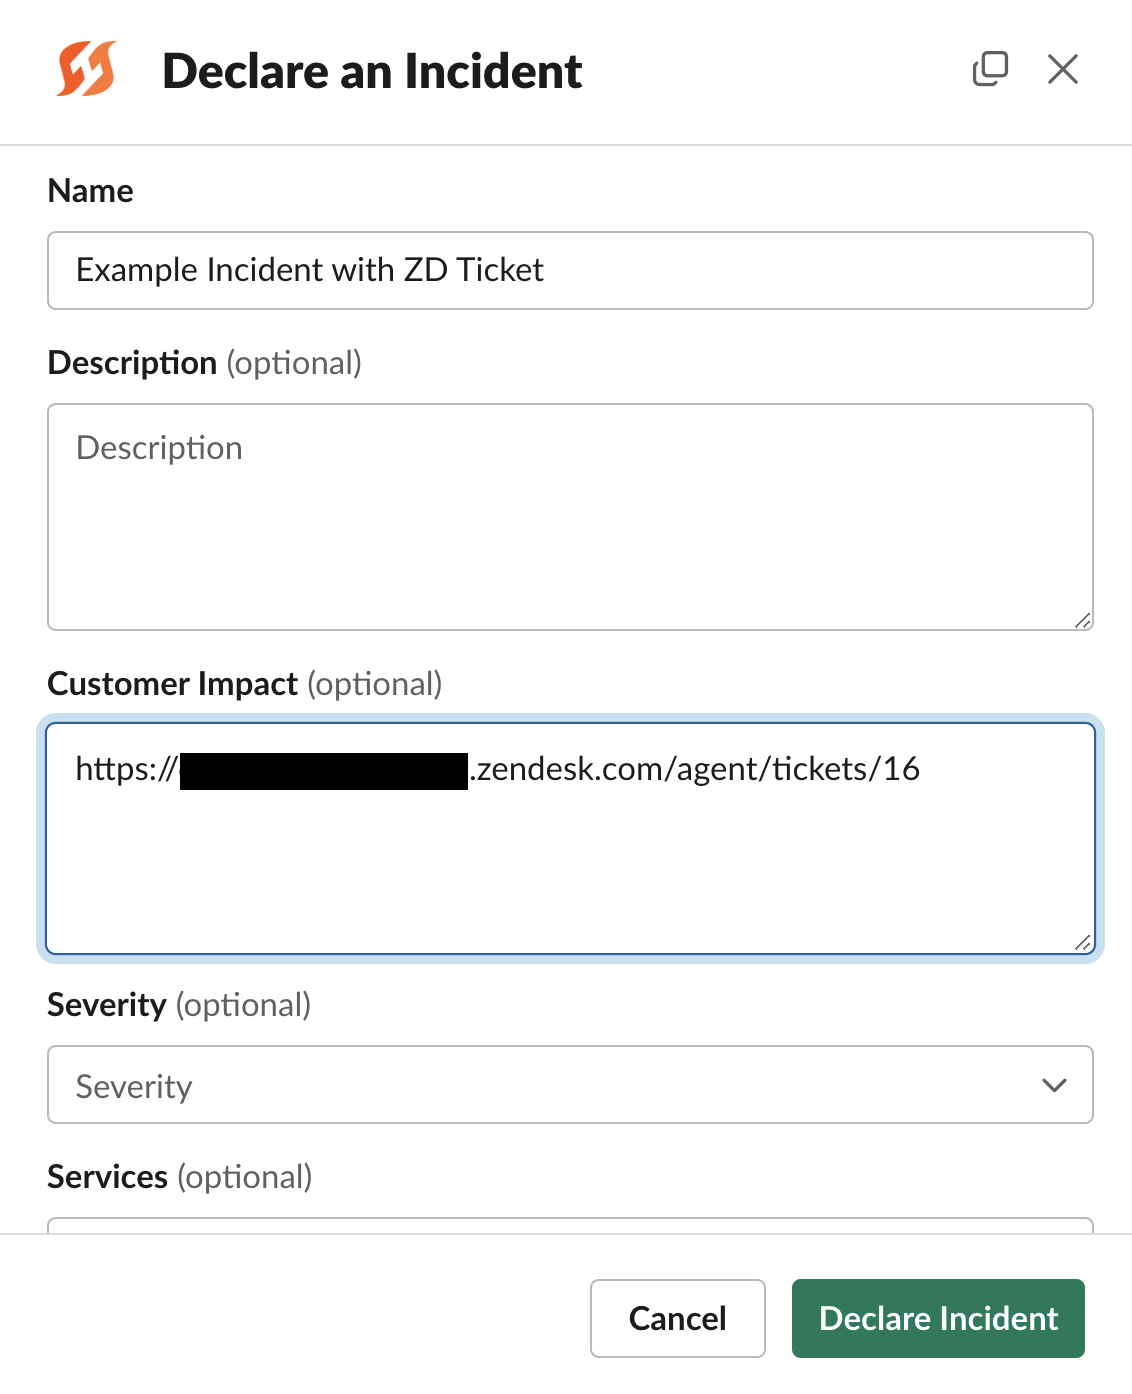
Inserting the ZD link into either Description or Customer Impact fields
FireHydrant auto-attaches that ticket to the incident
Linking Zendesk Tickets to an Incident from within FireHydrant
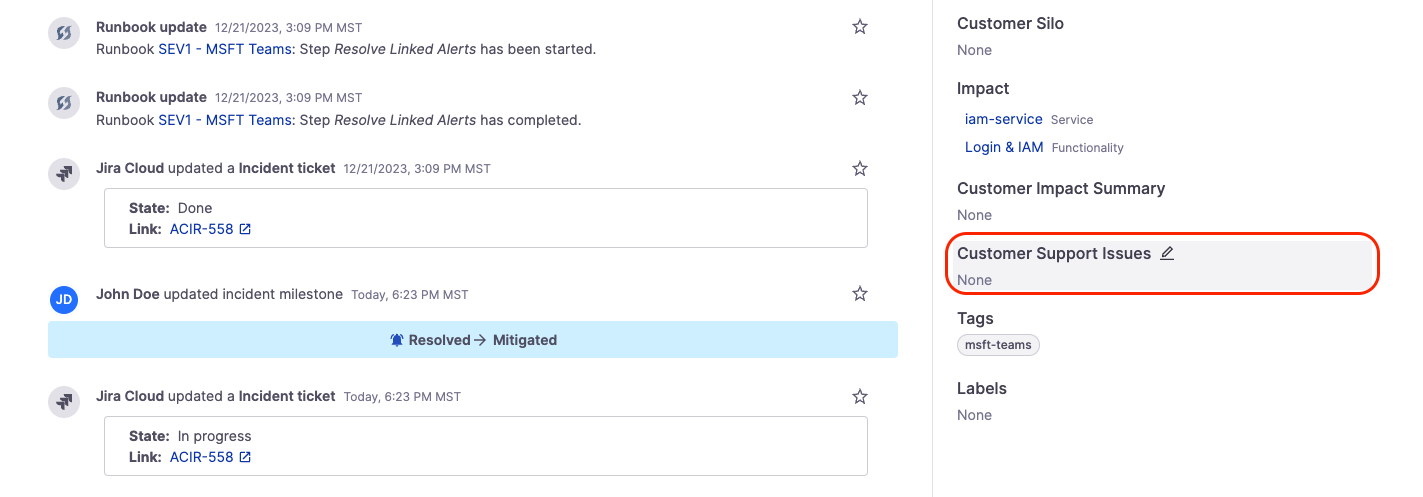
Customer Support Issues section
- In the Details panel on an existing incident, click the edit pencil next to Customer Support Issues.
- This will open a modal where you'll see a list of all the Zendesk tickets in reverse chronological order.
- Select any support ticket(s) you want to attach to the incident, then click Link issues.
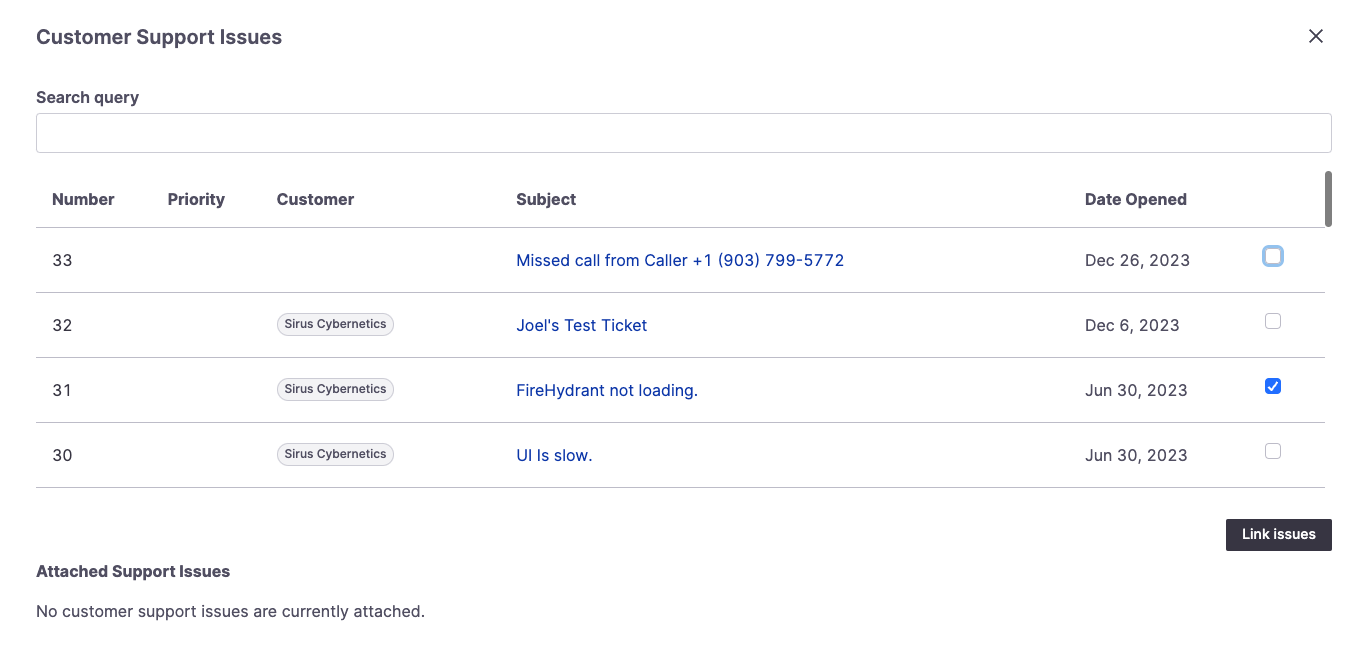
Issue linking selection modal
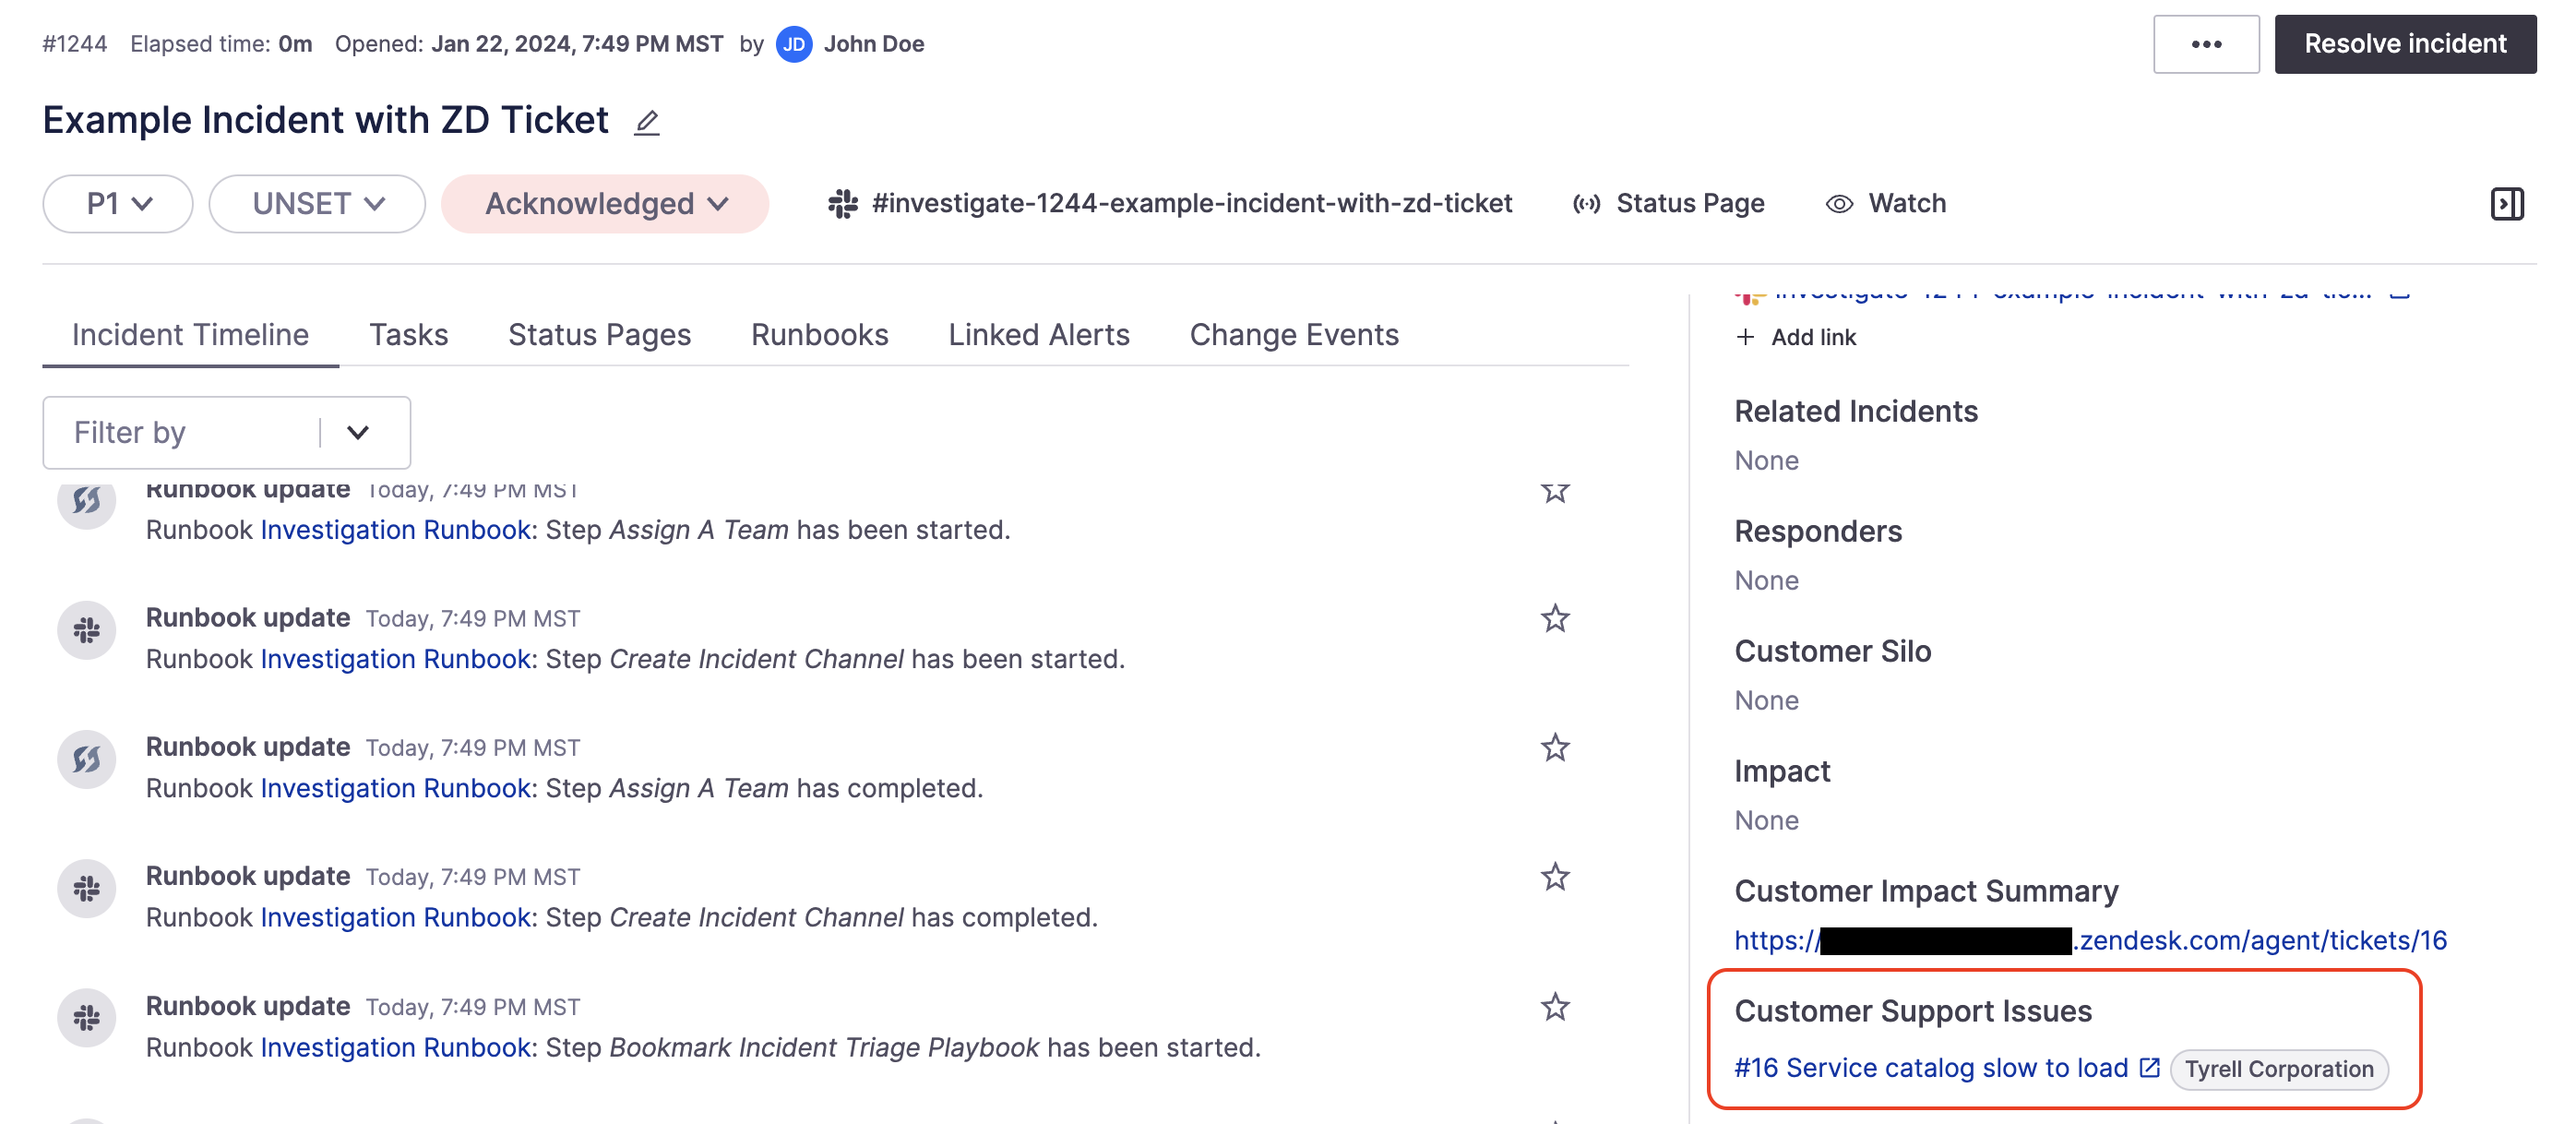
- Once linked, the tickets will be linked to this particular FireHydrant incident, and information about the impacted customer(s) for the ticket(s), along with a link to the original ticket, will be present on the incident.
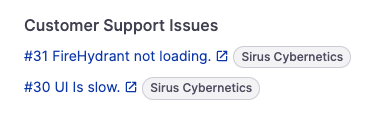
Ticket link and customer name after linking support issues
Creating a FireHydrant incident from within Zendesk
- While looking at a support ticket, find the FireHydrant app and click on the New Incident tab. At a minimum, you must complete any required fields which are configurable by your organization's Owner(s).
- Click Declare Incident.
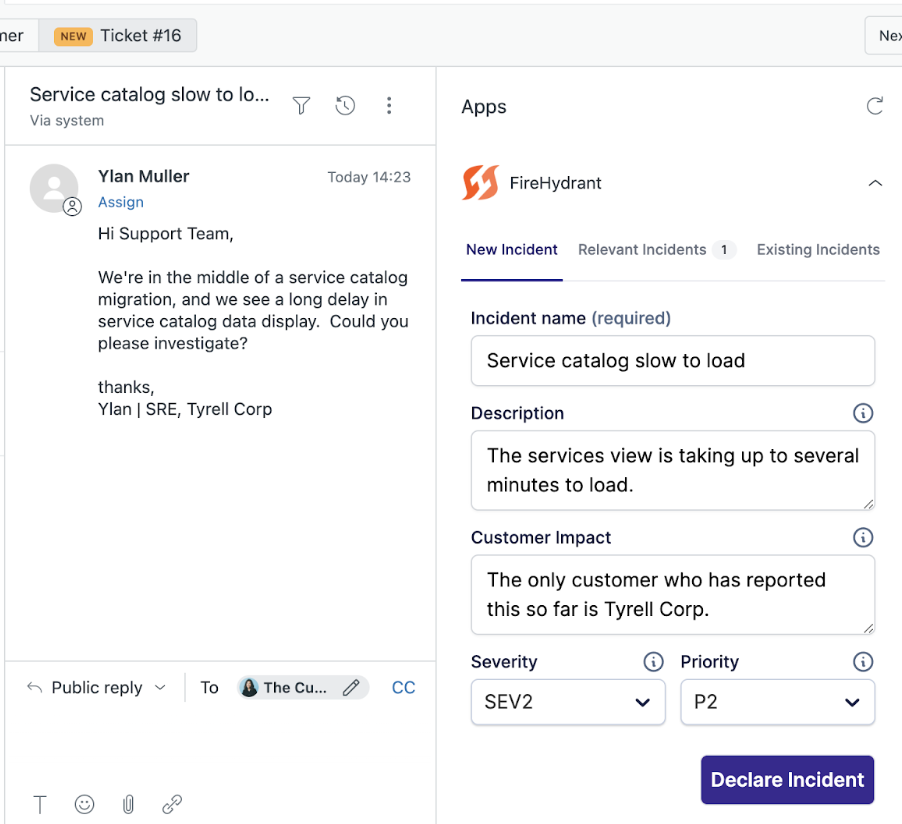
Example of declaring an incident from Zendesk app
Linking a ticket to existing FireHydrant incidents within Zendesk
- From the Existing Incidents tab of the FireHydrant app in Zendesk, you can search for and attach your Zendesk ticket to existing FireHydrant incidents instead of opening a new one.
- Expanding the incident row will display additional incident summary information, and you can click "+ Attach Ticket to Incident" to attach the current ticket.
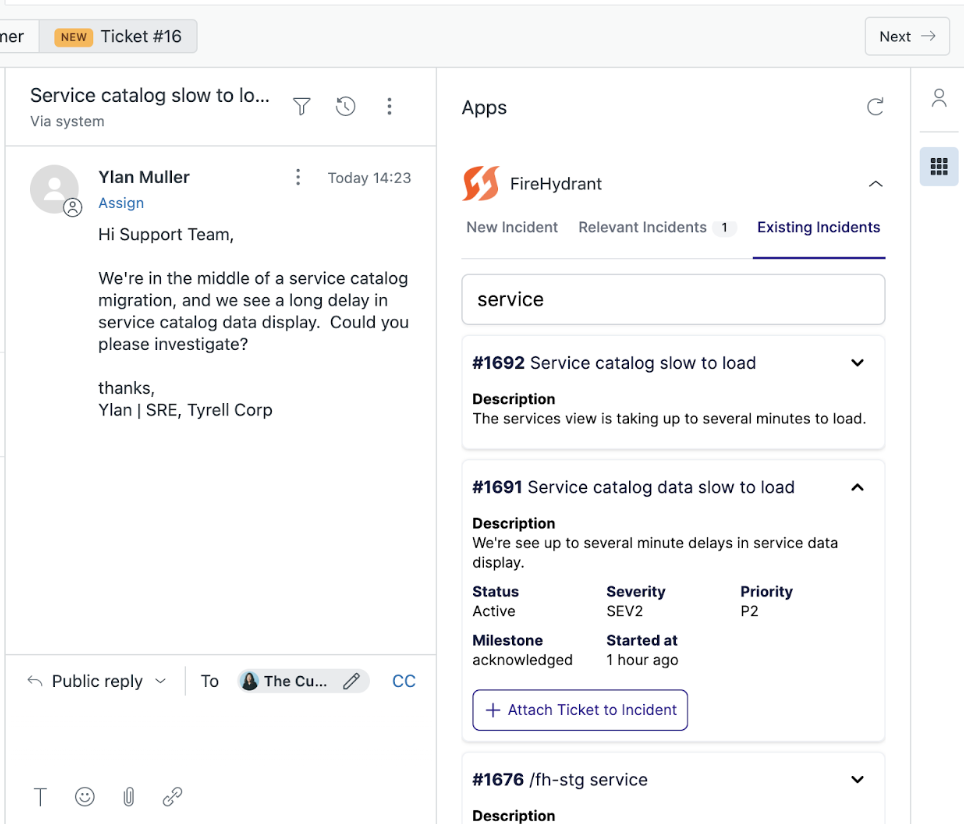
Attaching a ticket to an existing incident
Viewing FireHydrant incidents linked to a Zendesk ticket & unlinking
Any linked incidents will appear on the Relevant Incidents tab. From here, you also have the option to unlink the ticket from said incident(s).
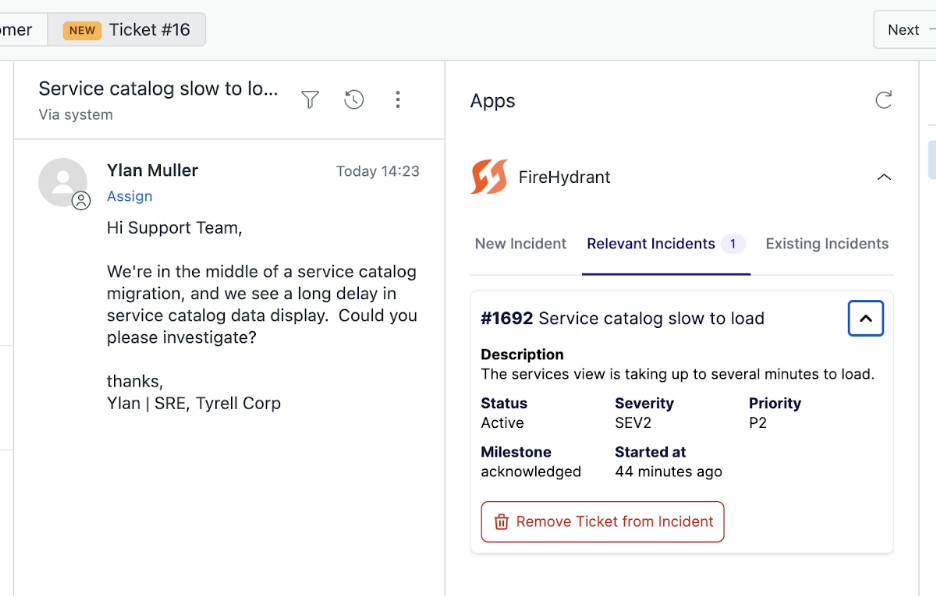
Showing linked incidents and a button to unlink
Posting status updates to linked Zendesk tickets
- When you post any incident updates on FireHydrant, the update will also be published as an internal note to any linked Zendesk tickets, along with a link back to the FireHydrant incident.

Example incident update posted as an internal note on a linked Zendesk ticket
These updates are helpful for your Support/Success personnel to understand what the latest updates are on an incident and to craft external update notes to customer(s) accordingly.
Next Steps
- If you haven't read the docs yet, learn more about Posting Updates
- Browse the rest of FireHydrant's integrations to see how you can optimize your incident management processes
Updated 3 months ago