Managing Tasks
FireHydrant comes with incident task management so responders can track what they need to do during an incident.
Tasks are intended to be mid-incident action items while Follow-Ups are items uncovered during the incident to be prioritized later.
In addition to creating and managing tasks, you can define Task Lists with preset tasks to help ensure consistency in your incident response and reduce cognitive load.
Note:
Slack commands and emojis for Tasks will only work within the context of an incident channel.
Create and Manage Tasks
Tasks can be created and assigned ad-hoc both via an incident's Command Center as well as in the incident's Slack channel.

via Command Center Tasks tab
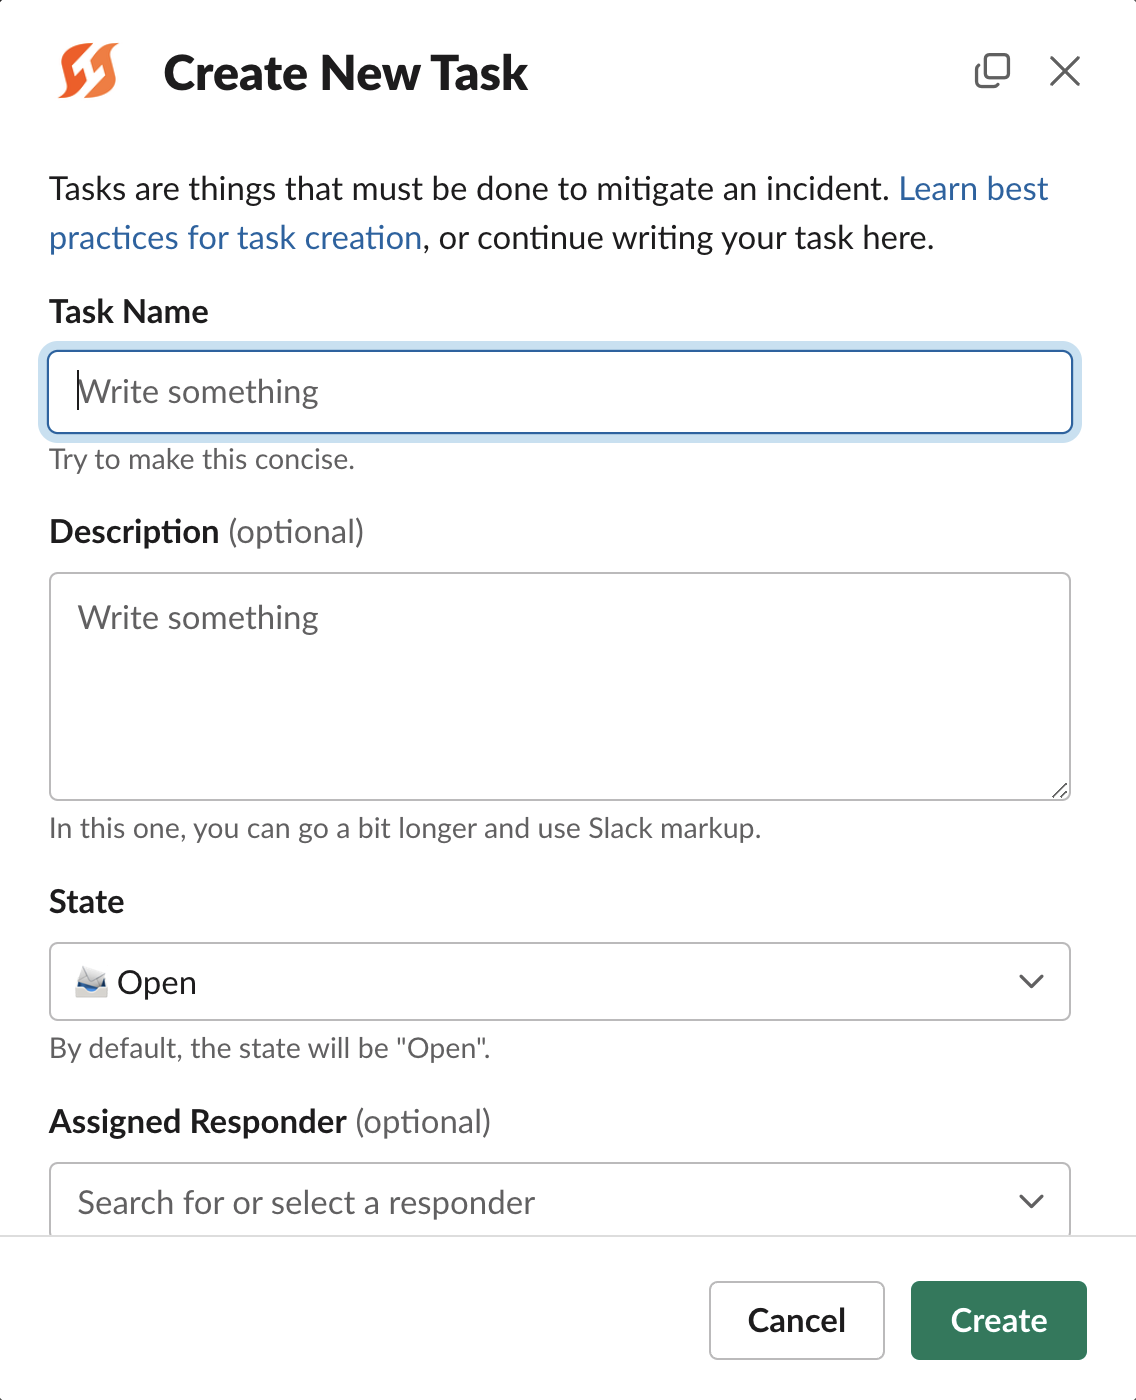
via /fh add task in Slack
To view and manage outstanding Tasks, the same tab in the Command Center can be used, and in Slack, the command /fh tasks [@user | all] can be used.
Using Emojis from Slack

Creating Tasks from emoji reaction to a message
From within the incident channel in Slack, you are able to react to specific messages with emojis to automatically create Tasks or Follow-Ups.
The default configured emoji is :ballot_box_with_check: but this can be modified in your Settings > Integrations list > Slack settings.
Task Lists
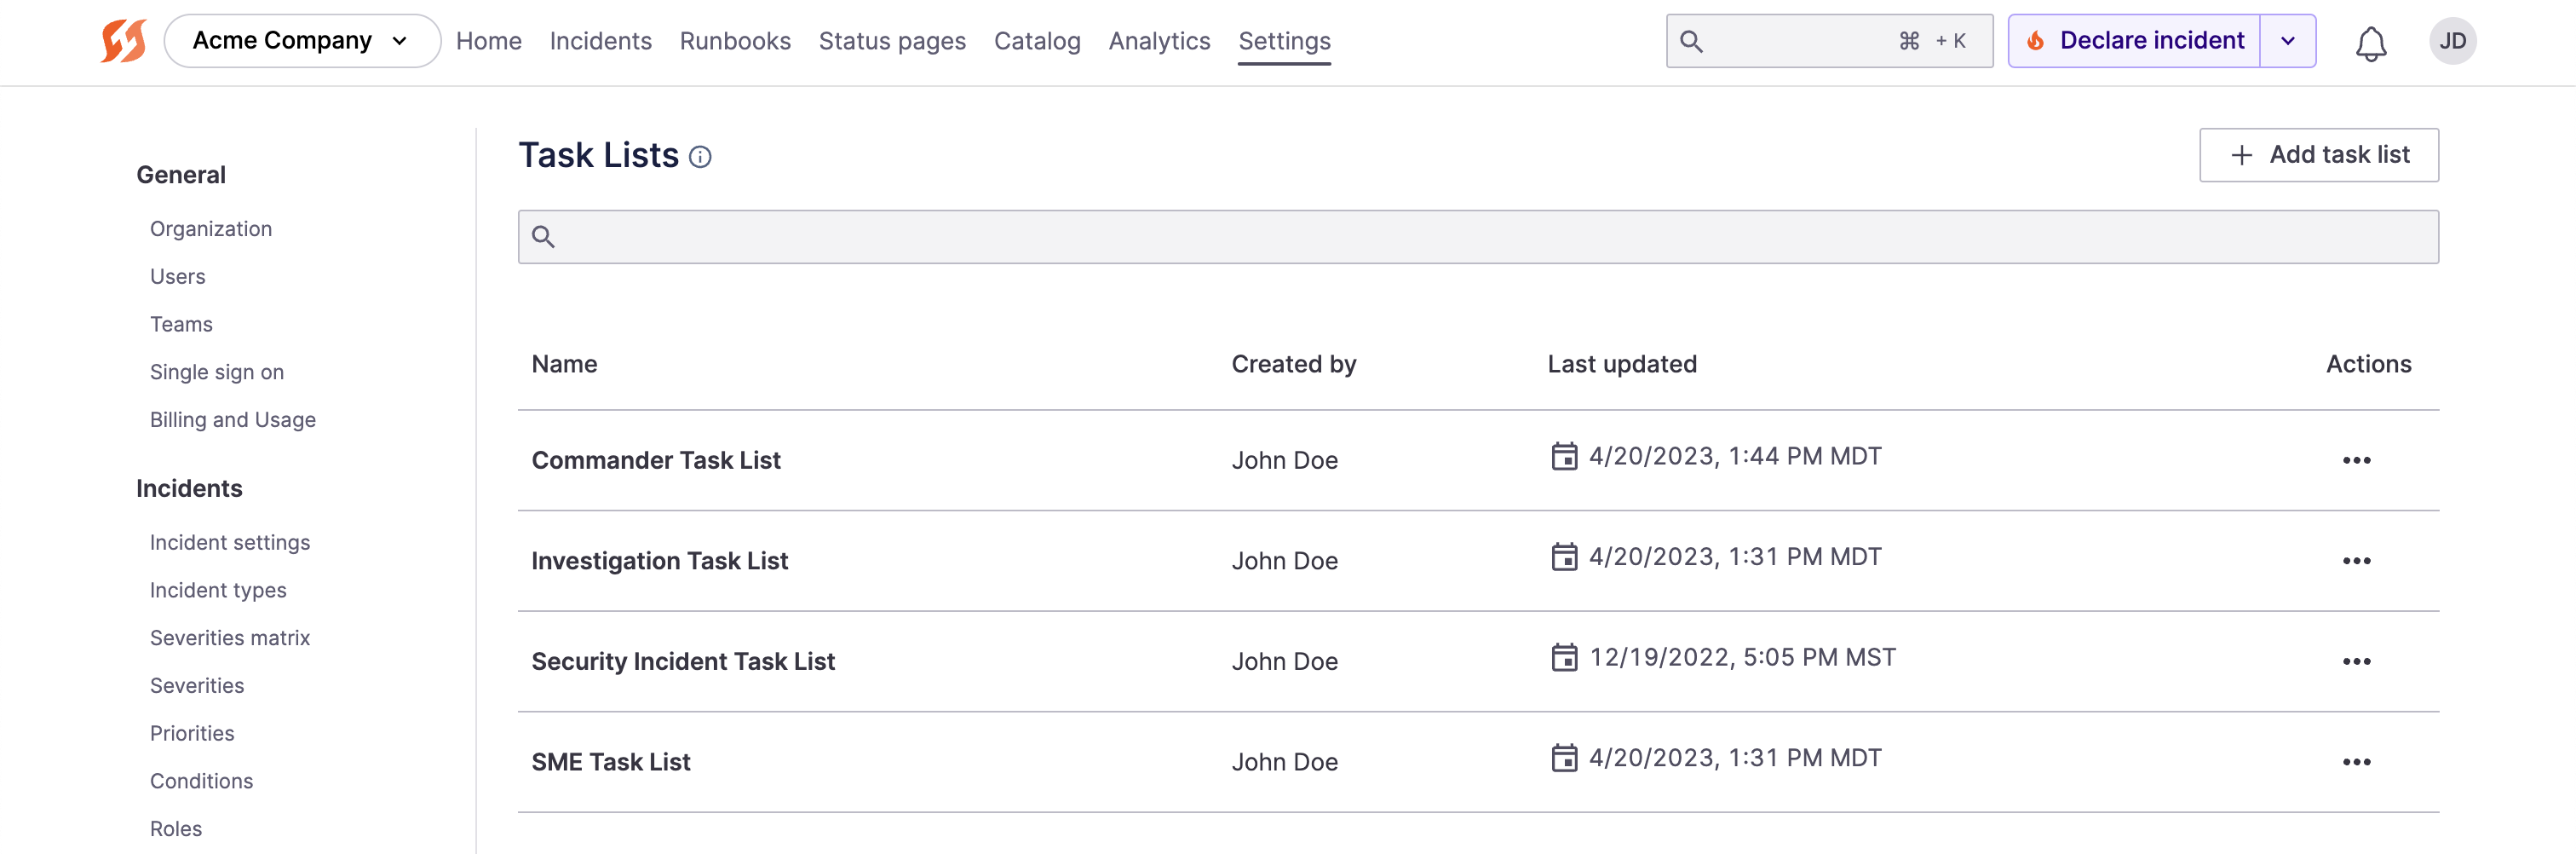
Example predefined Task Lists
Task lists are predefined lists of multiple tasks that you can assign all at once in incidents.
Like with normal tasks, you can assign a Task List ad-hoc during an incident, but there's an additional capability to automate assignment via Runbooks.
Creating a Task List
- Navigate to Settings > Incidents > Task Lists in the Web UI.
- Click “+ Add task list.”
- On this screen, provide a Name and Description for the Task List.
- Each Task list requires a unique name. Adding a description will also help provide context for the purpose of this task list.
- To add a task to your list, click “+ Add a task”.
- Enter the task summary and description. Select Save task to add this task to the list. A task list must have at least one task before it can be saved.
- When you are done, you can save the task list to view all the tasks.
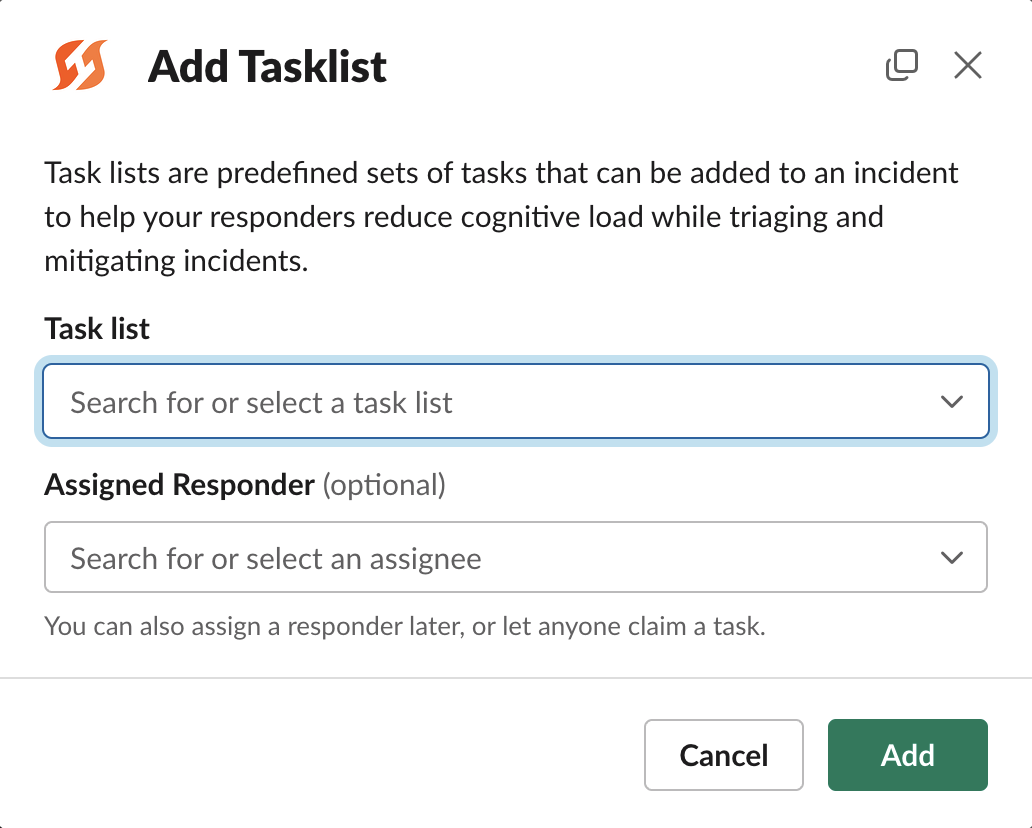
Assigning a Task List
Like with individual Tasks, you can add a Task List both via the Incident Command Center as well as in Slack.

Adding a Task List via Command Center
In Slack, the command is /fh add task-list.
Assigning a Task List via Slack
Automating via Runbooks
Task Lists have the additional capability of being automatically assigned as part of Runbook automation.
This allows immediately assigning a list of tasks based on various incident parameters. To read more about this, visit Add Task List Runbook Step
Next Steps
- See how you can manage your incidents completely from Slack
- Learn how to create Follow-Ups to track items to be prioritized post-incident
- Read Introduction to Runbooksand how they can be used to automate steps of your process
Updated 4 months ago